一大推的网盘如何方便管理呢?Alist列表程序的诞生帮我们解决了这个问题。不仅通过一个入口帮我们管理各个网盘,还支持直接以磁盘的方式挂载到我们的电脑。这里记录一下我在Debian系统安装Alist的过程。
一、环境
- Debian系统;
- Alist版本:v3.11.0;
二、Alist安装
官方一键安装脚本:
curl -fsSL "https://alist.nn.ci/v3.sh" | sudo bash -s install安装过程信息打印:
Alist 安装成功!

访问地址:http://YOUR_IP:5244/

配置文件路径:/opt/alist/data/config.json
---------管理员信息--------
INFO[2023-02-08 12:37:21] reading config file: data/config.json
INFO[2023-02-08 12:37:21] config file not exists, creating default config file
INFO[2023-02-08 12:37:21] load config from env with prefix: ALIST_
INFO[2023-02-08 12:37:21] init logrus...
INFO[2023-02-08 12:37:21] Successfully created the admin user and the initial password is: XnbM5KFZ
INFO[2023-02-08 12:37:21] admin user's info:
username: admin
password: XnbM5KFZ
服务管理:
查看状态:systemctl status alist
启动服务:systemctl start alist
重启服务:systemctl restart alist
停止服务:systemctl stop alist
启动成功后,通过IP地址访问: http://YOUR_IP:5244/。
三、Alist更新
官方一键更新脚本:
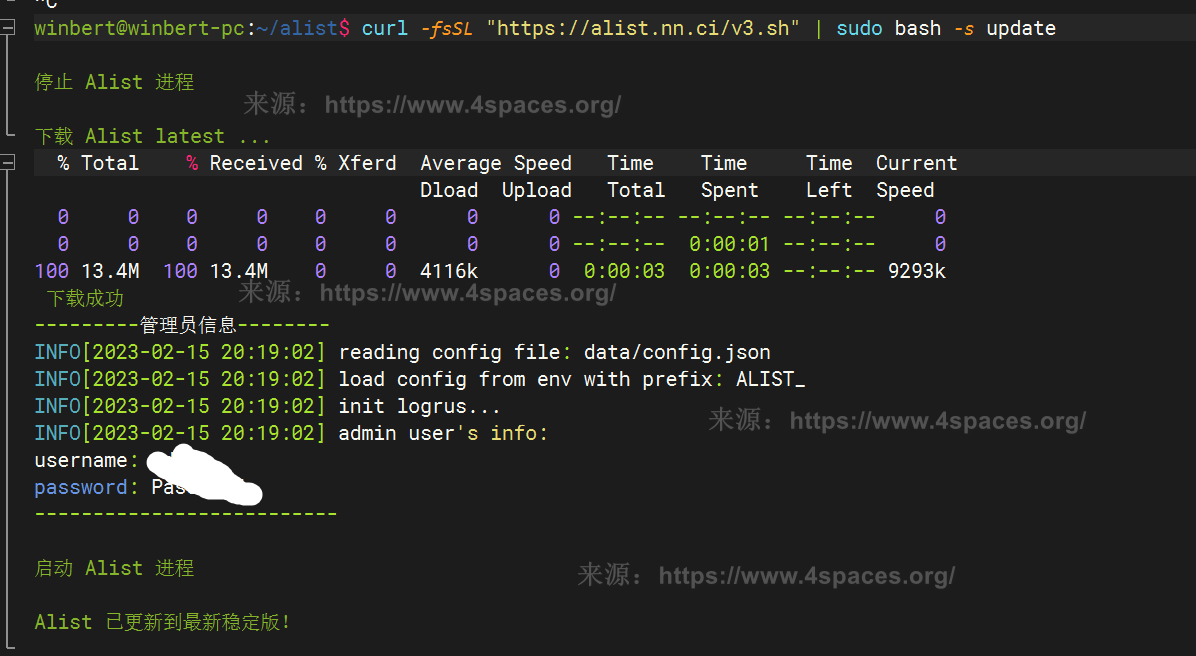
curl -fsSL "https://alist.nn.ci/v3.sh" | sudo bash -s update
四、绑定自己域名
你可以直接IP的方式访问,单有个自己的域名会更方便,不绑定域名的可以跳过这步。
为了启用https,这里已反向代理的方式进行nginx配置:
server {
    server_name alist.4spaces.org;

    root /home/winbert/www/alist;

    # Add index.php to the list if you are using PHP
    index index.html;

    location / {
        proxy_set_header X-Forwarded-For $proxy_add_x_forwarded_for;
        proxy_set_header Host $http_host;
        proxy_set_header X-Real-IP $remote_addr;
        proxy_set_header Range $http_range;
        proxy_set_header If-Range $http_if_range;
        proxy_redirect off;
        proxy_pass http://127.0.0.1:5244;
        # 上传的最大文件尺寸
        client_max_body_size 20000m;
    }

    listen 80;
}
配置之后,就可以通过域名访问、已经申请证书了。
五、挂载网盘
关键一步,以阿里云盘为例:
5.1 访问后台
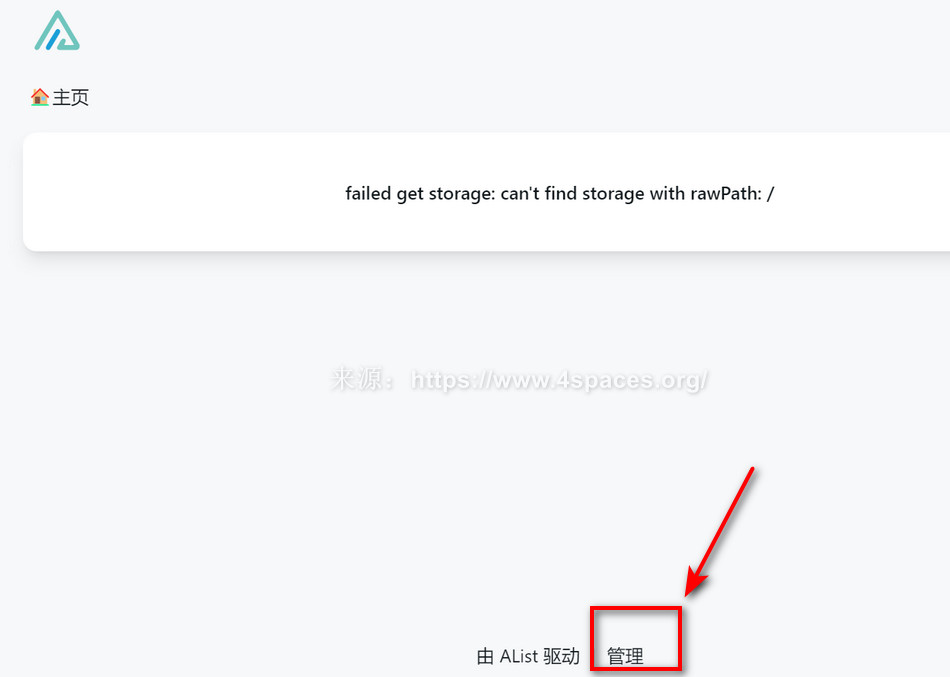
以IP的形式或域名的形式访问你的Alist。初次访问因为没有挂载任何存储,可能会有个错误提示:
failed get storage: can't find storage with rawPath: /忽略这个提示,直接点击最下方管理”按钮进行存储配置。

5.2 添加存储
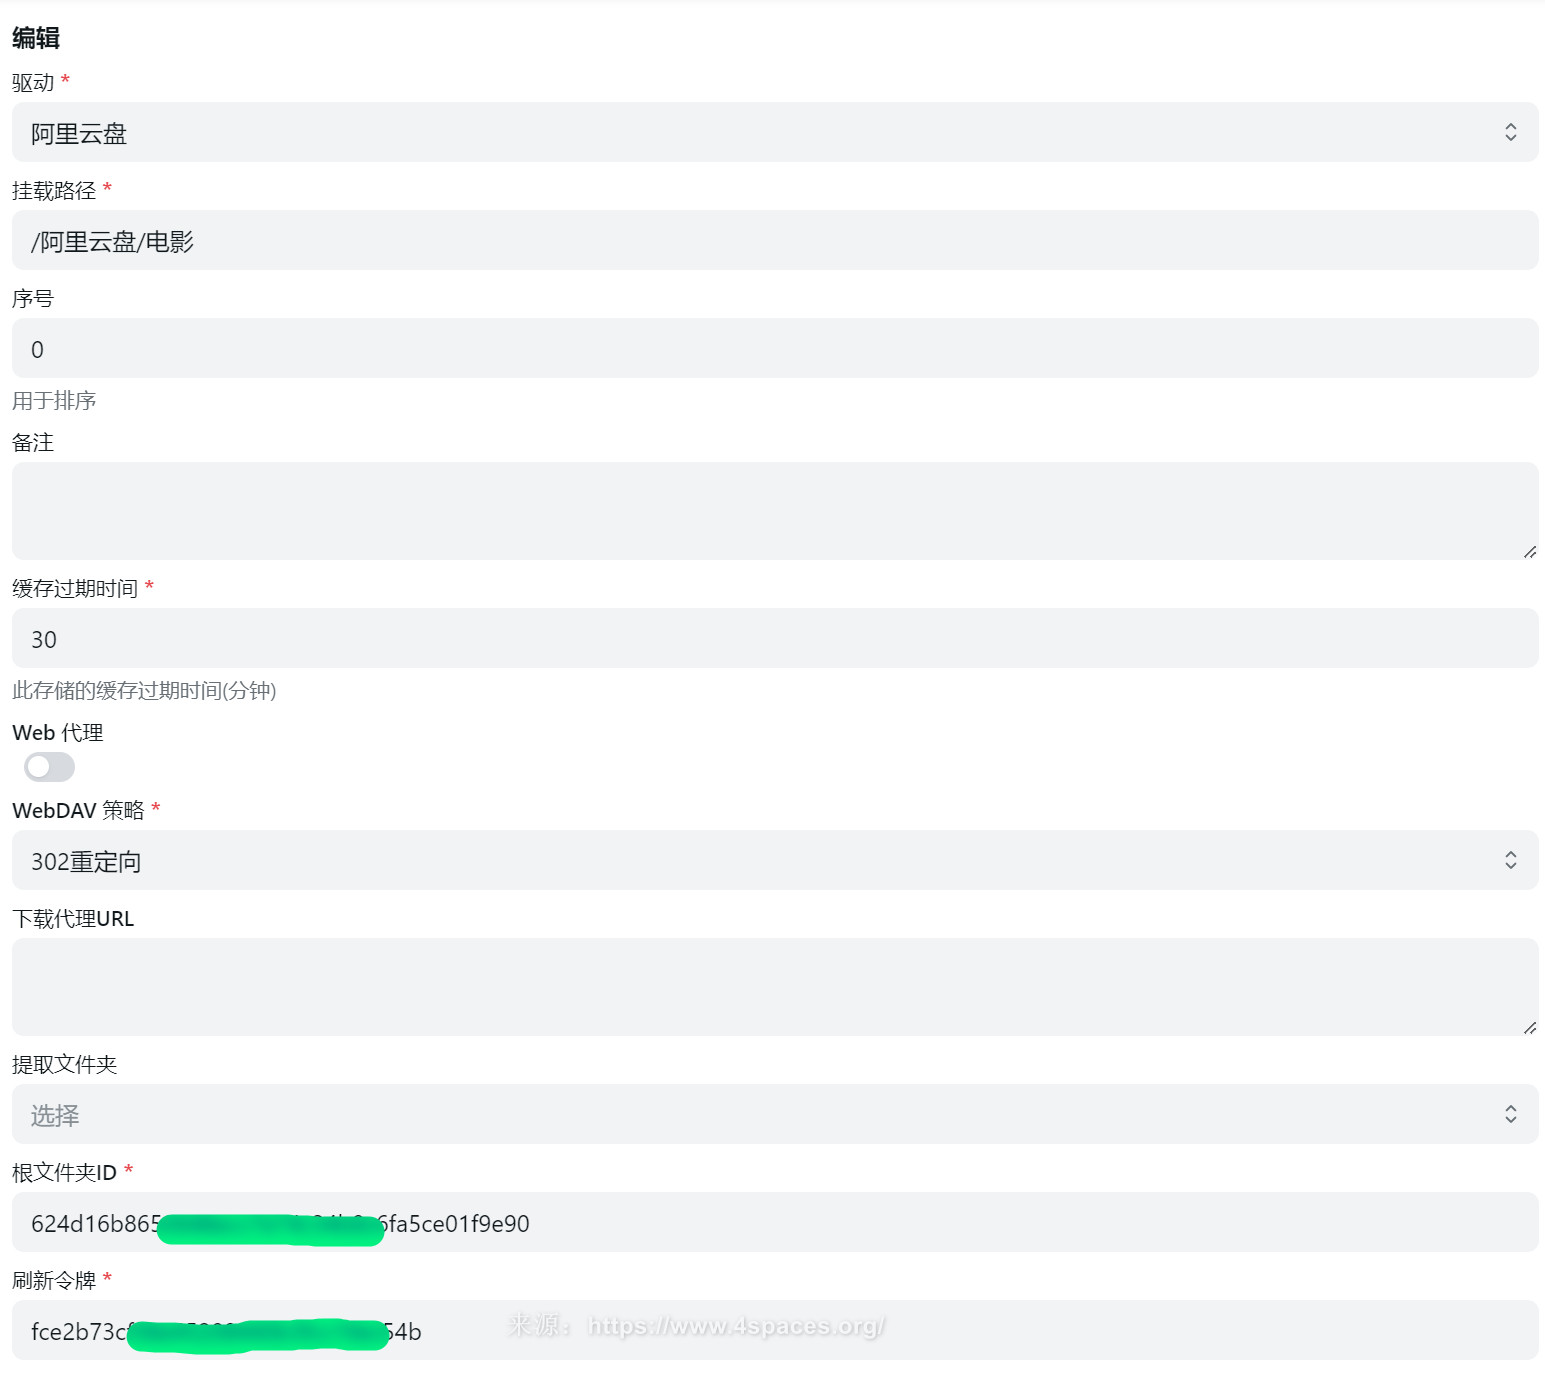
点击左边“存储”菜单,添加存储:

- 挂在路径随便填,如果想分多级目录,就以
/隔开; - 根文件夹ID:上图中根文件夹ID是阿里云盘文件夹地址folder后面的部分;
- 刷新令牌: 阿里云盘需要通过移动端App扫码获取,具体参考:获取Token。
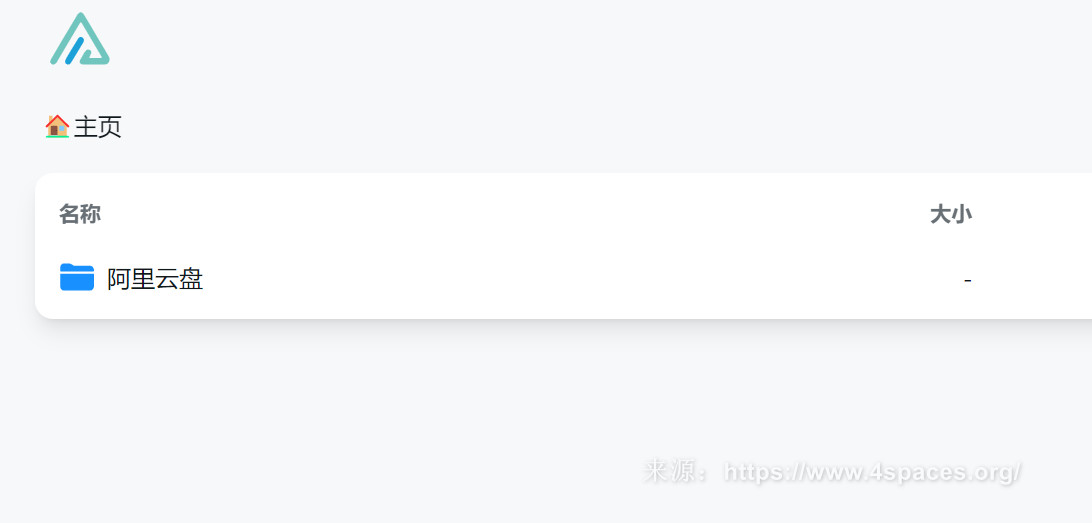
再次进入首页如下:


最新评论
什么时候出新版啊已经过了半个月了
有没有港台节目直播?
One Drive提取密码?
大佬请问每次都需要在plugins中启动tiktok吗,还是直接启动app